OKTA application declaration
The information listed here is provided as an example only. This methodology is not supported by Brainwave GRC, but has been tested.
Connect to your Okta admin console and add a new application.
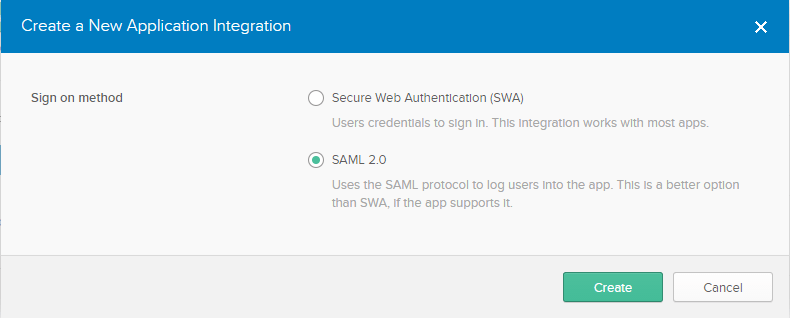
Select SAML 2.0 Sign on method.
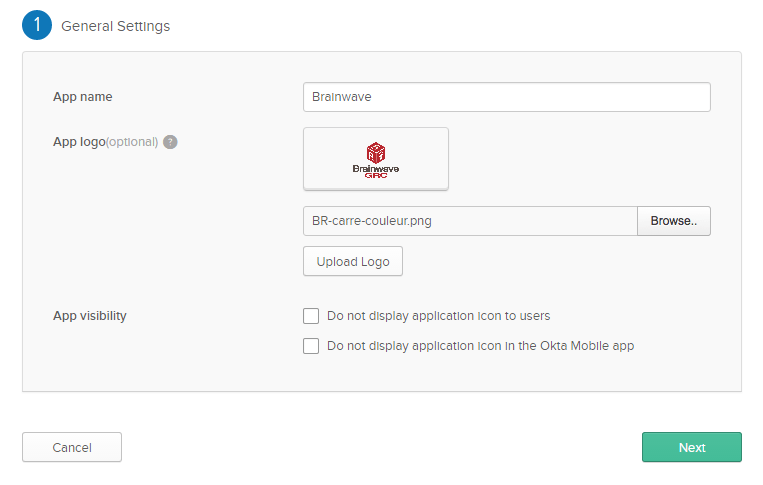
Fulfill the general settings: the nick name of your Brainwave project, a logo, ...
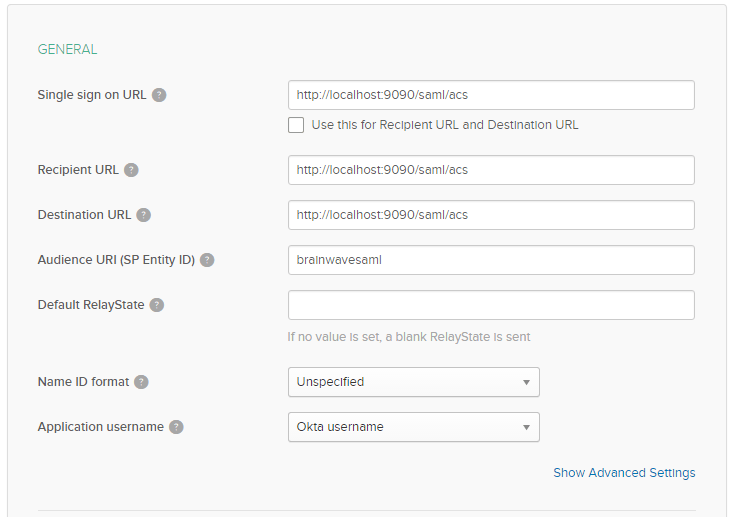
Fulfill the SAML attributes:
The SAML URI is /acs within your Brainwave portal. For instance, if your deployment is https://myhost/mybrainwaveapp.
The SAML URL to use will be https://myhost/mybrainwaveapp/acs.
The Audience URI is brainwavesaml, it can be updated if needed (see below).
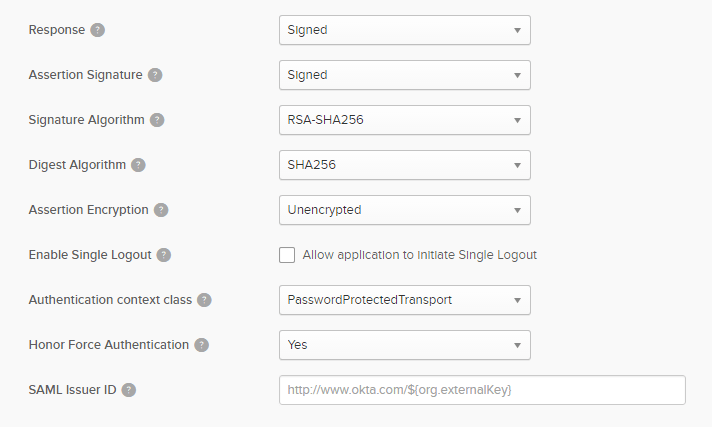
Keep the default parameters in the advanced settings.
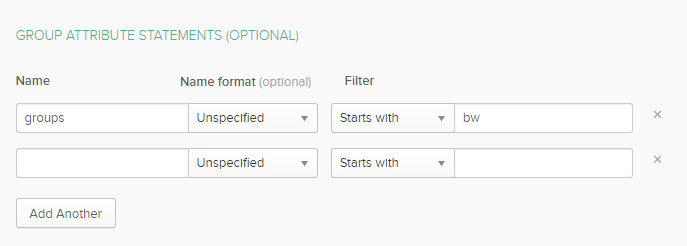
If you want to propagate roles from the Identity Provider you need to fulfill the group attribute statements.
The name will contain the name of the SAML attribute which will contain the groups, the filter will select the groups to send to the Brainwave instance amongst the total list of user groups.
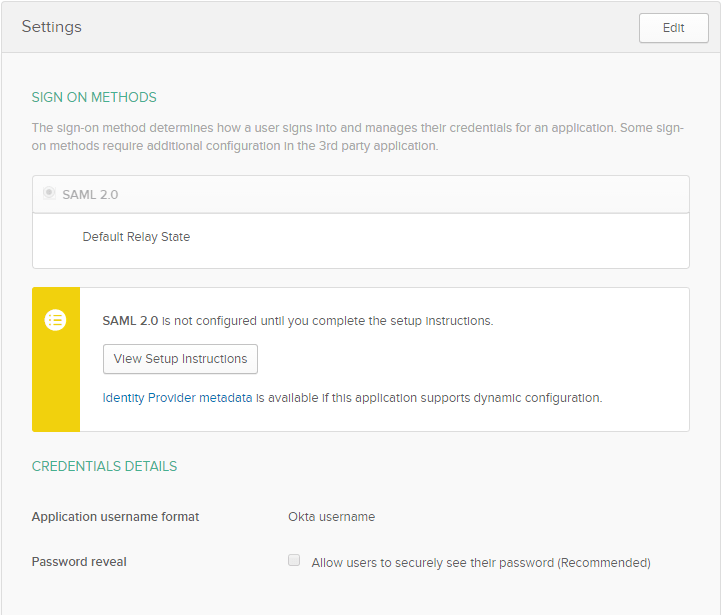
Once the configuration is done, click on Identity Provider metadata to download the idp configuration. Rename the file to idp-metadata.xml.
You will use it to declare your Okta instance in Brainwave.
Assign the application to an Okta user, it should appear in his menu.
