Create a root naming context for global profile identities and groups
The following steps assume you have used the Global Identity Builder tool to create a global profile of identities and that o=globaldirectoryview is the RadiantOne root naming context where the final global identity view/cache is mounted. This example involves two Active Directory data sources containing identities that contribute to the global profile and contain groups. There are many different namespace designs that can be used. The following steps describe a basic example of creating a virtual view consisting of a container for all groups and one for the global profile list of identities.
- In the Main Control Panel > Directory Namespace tab, select
 to create a new root naming context where both a view of the global profile list and existing groups from the backend directories will be mounted. This example uses a naming context of
 o=rli.
- Select the Virtual Tree type and select Next.
- Select the option to Create a new view (.dvx) and select OK.
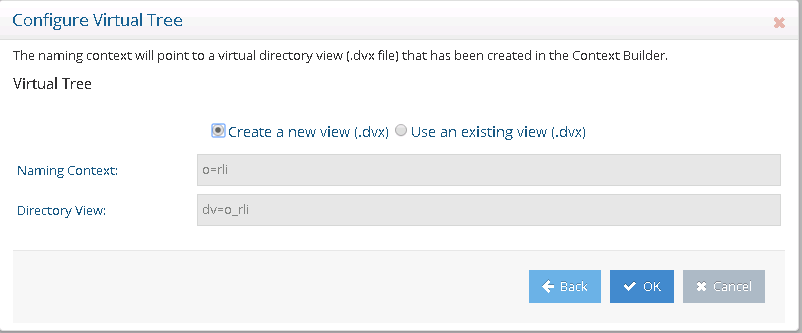
- Select OK to exit the confirmation.
- With the new naming context chosen, select New Level.
- Enter
Groupsfor the OU property value and select OK.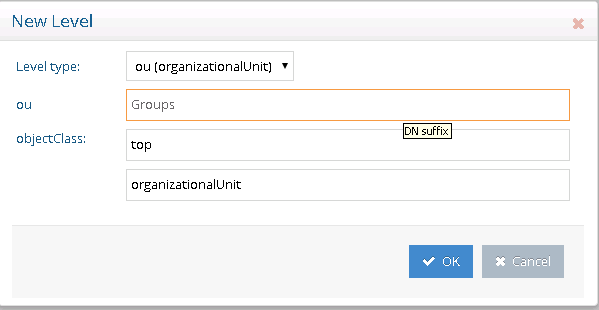
- Select OK again to exit the confirmation window.
- With the new naming context selected, select New Level.
- Enter
Usersfor the OU property value and select OK.
- Select OK again to exit the confirmation window.
- With the
ou=Groupscontainer selected, select New Level. - Enter a name representing one of the backend directories for the ou property and select OK. This example uses
ADDomain1.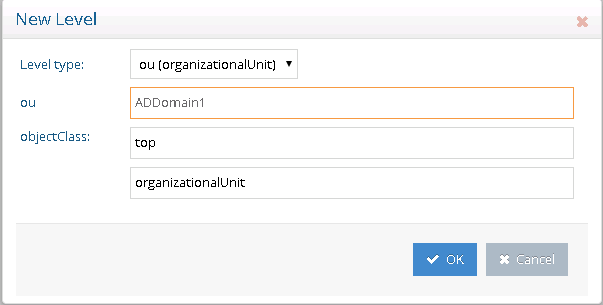
- Select OK again to exit the confirmation window.
- With the
ou=Groupscontainer selected, select New Level. - Enter a name representing one of the backend directories for the ou property and select OK. This example uses
ADDomain2. - Select OK again to exit the confirmation window.
- With the
ou=ADDomain1container selected, select Backend Mapping. - Choose the LDAP Backend type and select Next.
- Select the data source associated with the backend directory from the drop-down list.
- Select Browse to choose the container/location in the backend directory where group entries are located. If groups are spread in numerous containers, select the parent node that includes all containers.
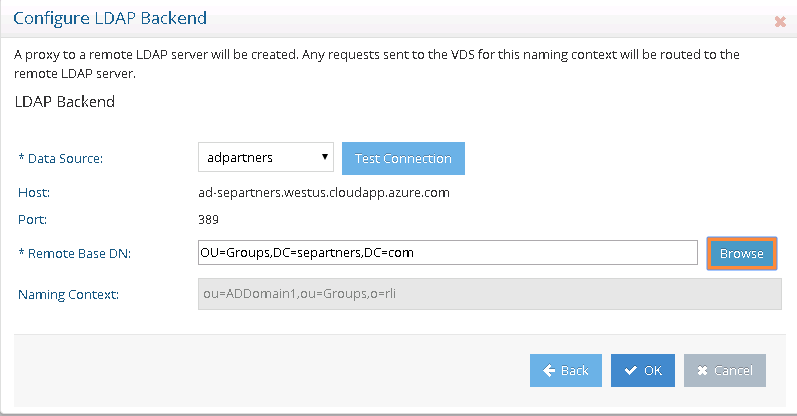
- Select OK.
- Select OK again to exit the confirmation window.
- Repeat steps 17-22 for the other container representing the second LDAP directory.
- With the
ou=Userslevel selected, select Backend Mapping. - Choose LDAP Backend type and select Next.
- Choose the vds data source from the drop-down list.
- Select Browse to navigate to the root naming context associated with the global profile view created from the Global Identity Builder tool.
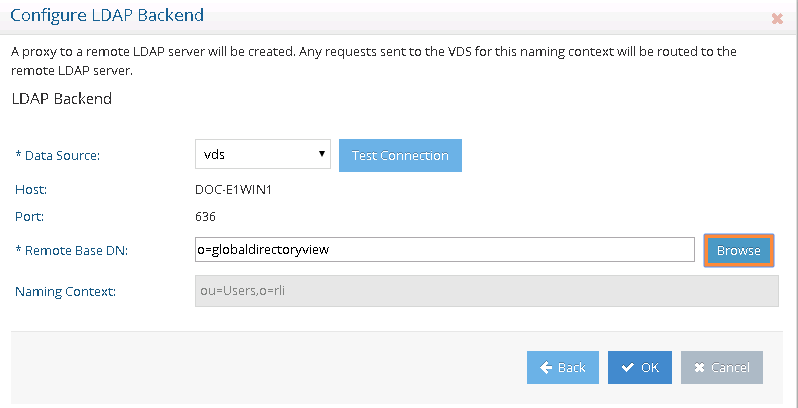
- Select OK.
- Select OK again to exit the confirmation window.
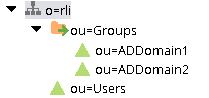
At this point, the virtual namespace should resemble the following screen: