Delete an Environment from its Detailed View
This guide outlines the required steps to delete an environment from a specific environment's Overview screen. For details on deleting an environment from the Environments home screen that lists all environments, review the delete an environment guide.
Only non-production environments can be deleted by users. To delete a production environment, please contact Radiant Logic.
Getting started
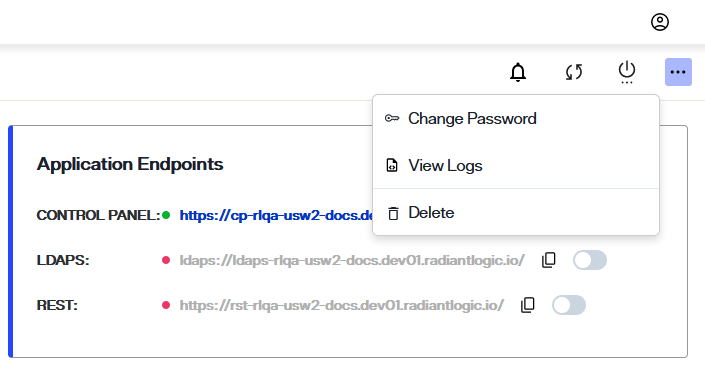
To begin the workflow to delete the environment, select the ellipsis next to Monitor Environment to expand the Options menu. From the Options menu, select Delete. This will open the delete environment dialog box.

Enter environment details
Deleting an environment is a permanent action and cannot be undone once submitted.
To delete the selected environment, enter the name of the environment in the space provided in the dialog box and select the Delete button. The environment name entered must match the actual environment name exactly, otherwise you will receive an error message and will not be able to submit the delete request.

If you would like to keep the environment and exit out of the confirmation dialog, select Keep the Environment to return to the Overview screen.

Confirmation
After selecting Delete in the confirmation dialog you will return to the Environments home screen. Here, you'll receive a confirmation message that the environment was successfully deleted and the environment will be removed from the environments list.
If the environment could not be deleted, you will return to the environment Overview screen and receive an error notification indicating that the attempt to delete the environment failed. Select Dismiss to close the error notification.
Next steps
After reading this guide you should have an understanding of the steps required to delete an existing environment. If you would prefer to update the environment, please refer to the guide on updating an environment.